~ 9 min read
Implementing Karplus Strong on the Bela Platform

Introduction
This blog post provides an overview of how I implemented the Karplus Strong algorithm for Bela. I’ll discuss what the Karplus Strong algorithm is and how it works, how to code for and upload to the Bela platform, and finally (& most importantly) how to implement Karplus Strong on the Bela.
Bela
First of all, what actually is Bela???
Bela is a platform for “creating beautiful interactions”. The Bela platform is frequently used in the Digital Musical Instrument (DMI) community for its ultra low-latency performance and wide range of digital and analog input/out options. Bela features a strong community of makers & musicians, support for multiple programming languages (C++, PureData, Max, etc.) as well as an onboard IDE.
For this project, I’m using the Bela Mini, which features almost all of the same feature as the larger Bela board, but in a significantly smaller form factor. Some of Bela Mini’s features are:
- Stereo Audio (in & out)
- 8x 16bit analog inputs (for analog sensors, potentiometers, etc.)
- 16x digital I/O pins (for buttons, switches, etc.)

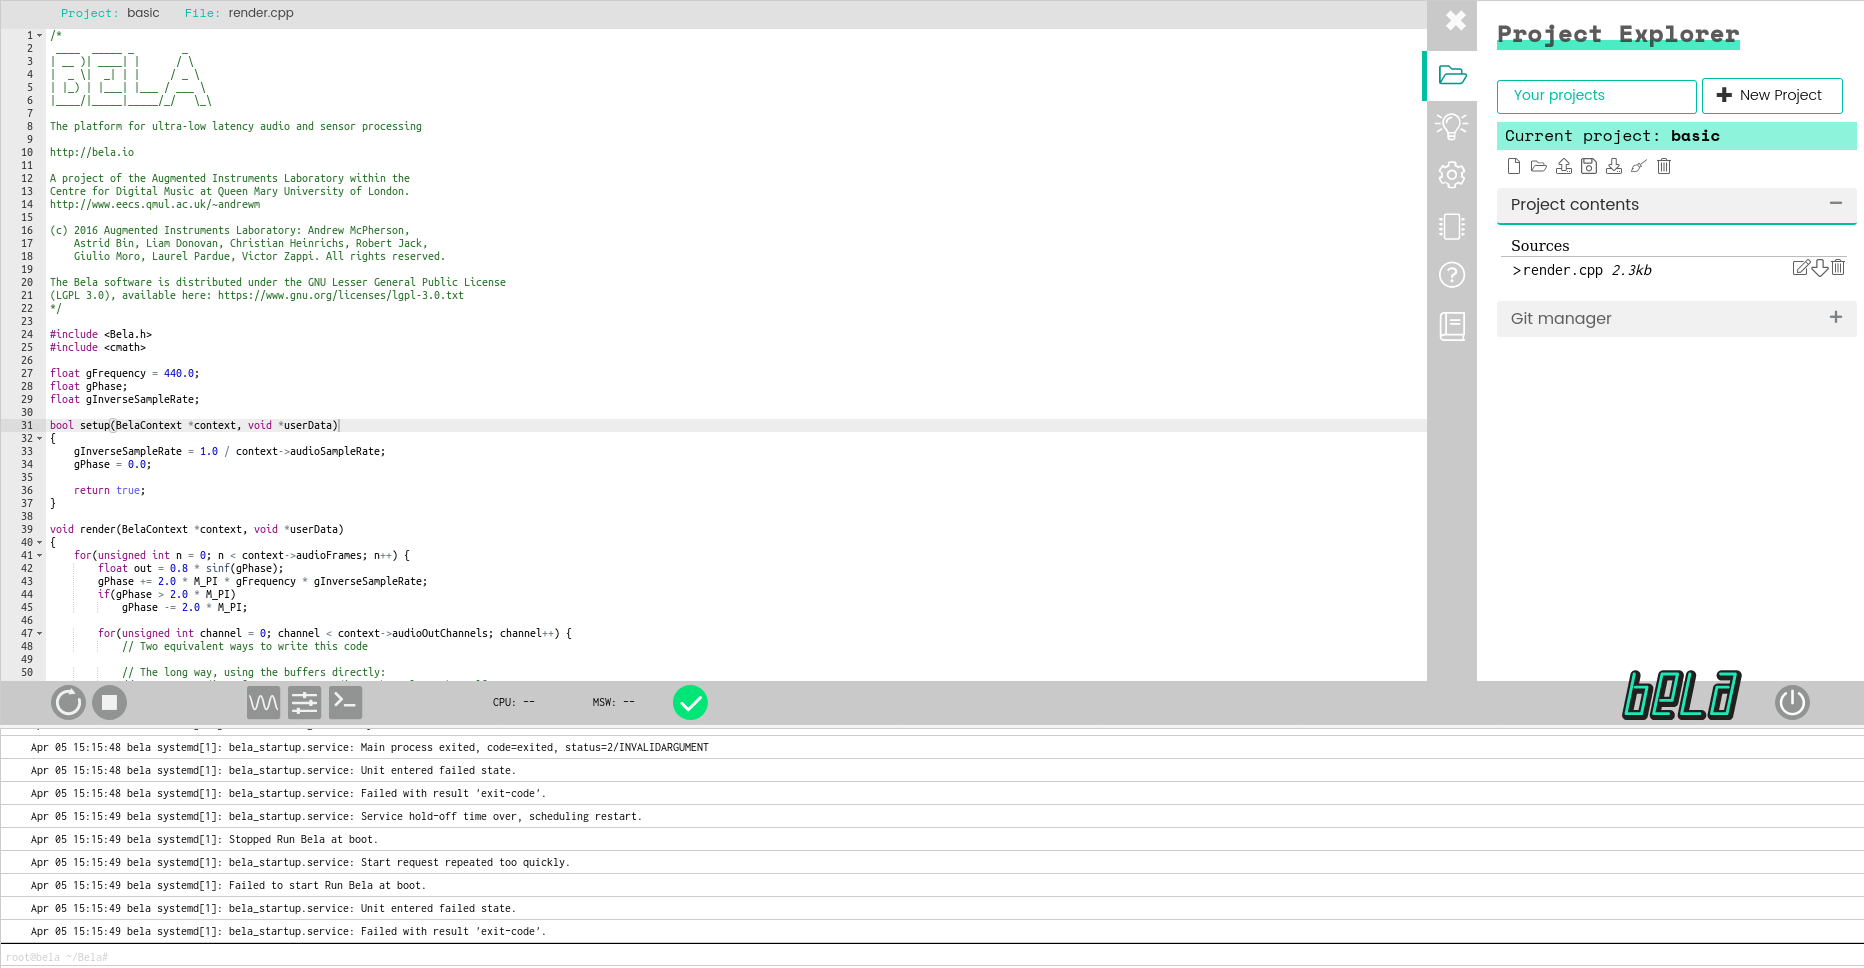
As I mentioned, Bela also ships with a super handy onboard IDE that can be used to write and upload code to the board. To access the IDE, connect Bela to your computer using a USB cable. From there, navigate to http://bela.local on your favorite web-browser.
This is all it takes to get up and running. If all goes well you should see a window that looks something like this on your screen.
Setup & Render
A typical Bela program will have two main functions responsible for running your code on the hardware. If you’ve done any work with an Arduino system, these functions and their purposes will be relatively familiar to you.
Setup
The first function you need to implement is a setup function. This function will be ran once when the program starts for the first time. In this function, you can perform one time tasks such as setting up I/O pins, defining constants, and any other implementation details your program may require.
bool setup(BelaContext *context, void *userData)
{
  // Setup code goes here

  ...
}
Render
The next function is render, which will be called repeatedly in an infinite loop until the program is shut down. This function is where any of your audio processing code should go. For example, in each call of the function you may process the next sample from a wave-table and send the result to the audio out buffer. This function should always be non-blocking in order to maintain Bela’s high performance standards with regards to latency.
bool render(BelaContext *context, void *userData)
{
  // Render code goes here

  ...
}
For more information about programming with Bela, I recommend checking out their official documentation and the C++ tutorials / YouTube series where the creators of Bela go into great detail about how to work with their platform.
Karplus Strong
So now that we have a basic understanding of what Bela is, we need to figure out what actually is the Karplus Strong algorithm???
The Karplus Strong algorithm is a physical model used to generate “plucked string” sounds. The algorithm as described by the original paper from 1983 is relatively simple.
First, a buffer of white noise is created which represents the initial energy that is injected into the system when a string is plucked.
Next, we loop through the buffer and update each sample using the following formula:

Thus, each output sample (what is actually sent to the speakers) is the average of the current sample and the most previously seen sample.
Pythonic Method
The way I first saw KS implemented was using Python lists, where new samples were appended to an output list to be converted to audio once the KS algorithm had been completed:
def karplus_strong(wavetable, n_samples):
    """Synthesizes a new waveform from an existing wavetable, modifies last sample by averaging."""
    samples = []
    current_sample = 0
    previous_value = 0
    while len(samples) < n_samples:
        wavetable[current_sample] = 0.5 * (wavetable[current_sample] + previous_value)
        samples.append(wavetable[current_sample])
        previous_value = samples[-1]
        current_sample += 1
        current_sample = current_sample % wavetable.size
    return np.array(samples)
(Source for the code above: https://flothesof.github.io/Karplus-Strong-algorithm-Python.html)
This method is completely valid and certainly generates a KS waveform when you convert the samples list into a .wav file. However, a major drawback to this approach is that it is not suitable for real-time use, as the entire algorithm is run before retuning the output array and converting it to an audio file.
Implementing Karplus Strong
Once we have connected to the Bela IDE using http://bela.local, we can begin implementing our code.
We know that the frequency of the plucked sound from KS is directly related to the length of the buffer used as the initial excitement of the synthesized string. In the pythonic implementation above, a hard coded list of random values is used. Again, this doesn’t fit well with the setup & render paradigm of Bela nor does it allow for synthesis of plucks with different pitches to be generated.
Therefore, I instead maintain a global array of arbitrarily long length (1000 elements in this case) and a variable that marks the length of the KS algorithm based on the pitch the user wants at that given time. Thus, the main array is constant length, but we only use the appropriate subsection of the array in order to generate various pitches.
Full implementation details are discussed next.
Class Structure
We encapsulate the KS algorithm in it’s own class, called KarplusStrong, in order to keep our code relatively clean. The Bela IDE lets you define .cpp and .h files and will automatically link them at compilation time.
The class members are listed here.
#define MAX_LEN 1000

protected:
  float gWavetable[MAX_LEN];
  int gReadPointer = 0;
  int wavetableLen;
  float belaSampleRate;
  float decayConstant = 0.996;

private:
  // Store references to previous values to compute Karplus Strong
  float FIRST = 0.0;
  float SECOND = 0.0;
The FIRST & SECOND variables are used to handle edge cases of the algorithm. I’m 110% sure there is a more elegant way to do this, but sometime’s the quick solution is a good enough solution!
Functions
The Karplus Strong class has three main functions for setting the pitch of the note, resetting the algorithm, and processing the audio for each sample. Each of these functions are discussed (with source code) below:
Set Frequency
This function is used to set the pitch/frequency of the KS algorithm, which as we discussed above is just setting the integer value for the length of the subsection of the global array of noise.
This function receives an floating point input which represents the frequency in hz.
inline void KarplusStrong::setFrequency(float hz){
  wavetableLen = floor(belaSampleRate / hz);
}
Reset Function
This function resets the white-noise buffer that is used as the initial excitement for the KS algorithm. This uses the rand() function and rescales the values to be in the range of -1 and 1.
inline void KarplusStrong::resetBuffer(){
  for (unsigned int n = 0; n < wavetableLen; n++){
    float r = (float)rand() / (float)RAND_MAX;
    gWavetable[n] =  -1 + r * 2;
  }

  // Reset the initial values to 0.0
  FIRST = 0.0;
  SECOND = 0.0;
}
Process
There are two overloaded process functions, one which takes an input parameter corresponding to how many samples to compute, and one that takes no input but handles the actual computational processing of the KS algorithm.
inline float KarplusStrong::process() {

  float out = gWavetable[gReadPointer];

  if(FIRST == 0.0){
    FIRST = gWavetable[gReadPointer];
  }
  else if(SECOND== 0.0){
    SECOND = gWavetable[gReadPointer];
  }

  if(SECOND != 0.0 && FIRST != 0.0){
    SECOND = FIRST;
    FIRST = gWavetable[gReadPointer];
    gWavetable[gReadPointer] = decayConstant * 0.5 * (SECOND + FIRST);
  }

  // Increment read pointer
  gReadPointer++;

  while (gReadPointer >= wavetableLen){
    gReadPointer -= wavetableLen;
  }

  return out;
}

inline float KarplusStrong::process(int sampleCount){
  float retVal = 0;

  if(true) // Update as required
  {
    for(int i=0; i<sampleCount; i++)
      retVal = process();
  }

  return retVal;
}
Triggering Karplus Strong
In order to actually hear sound be generated, we need a way to trigger the algorithm. This can be done in many different ways, a hardware button, a virtual GUI, some other GPIO sensor, etc. For this implementation however, I will use the Trill Bar which is a capacitive multi-touch sensor also provided by the Bela company.
Trill is able to determine both if the sensor is active (ie: the user is touching the sensor) and where the touch is occurring. This means that we can use the trill bar as a dual purposed sensor for determining both the triggering of the algorithm as well as the pitch of the resulting sound.
I won’t go into how to set up the Trill bar for a Bela project, as there is already excellent documentation about this available here. Once you’ve got the Trill sensor set up, we can move on to the next sections.
Reading Trill Bar
This snippet determines whether or not the trill sensor is registering a touch.
int status = (gTouchLocation != 0) ? HIGH : LOW;whereas this snippet sets the frequency of the KS algorithm to a value between 0 and 440hz, a very simple way of emulating a fretless stringed instrument.
ks.setFrequency(gTouchLocation * 440);Processing Karplus Strong in Render Loop
Finally, to actually output audio from the Bela’s render loop, we simply call the .process() function of the KarplusStrong class and send the result to the audio output. This is done as follows:
  out = gAmplitude * ks.process();

  for (unsigned int j = 0; j < context->audioOutChannels; j++)
  {
    audioWrite(context, n, j, out); // write the audio output
  }
where gAmplitude is simply a value between 0 & 1 that sets the overall volume of the output.
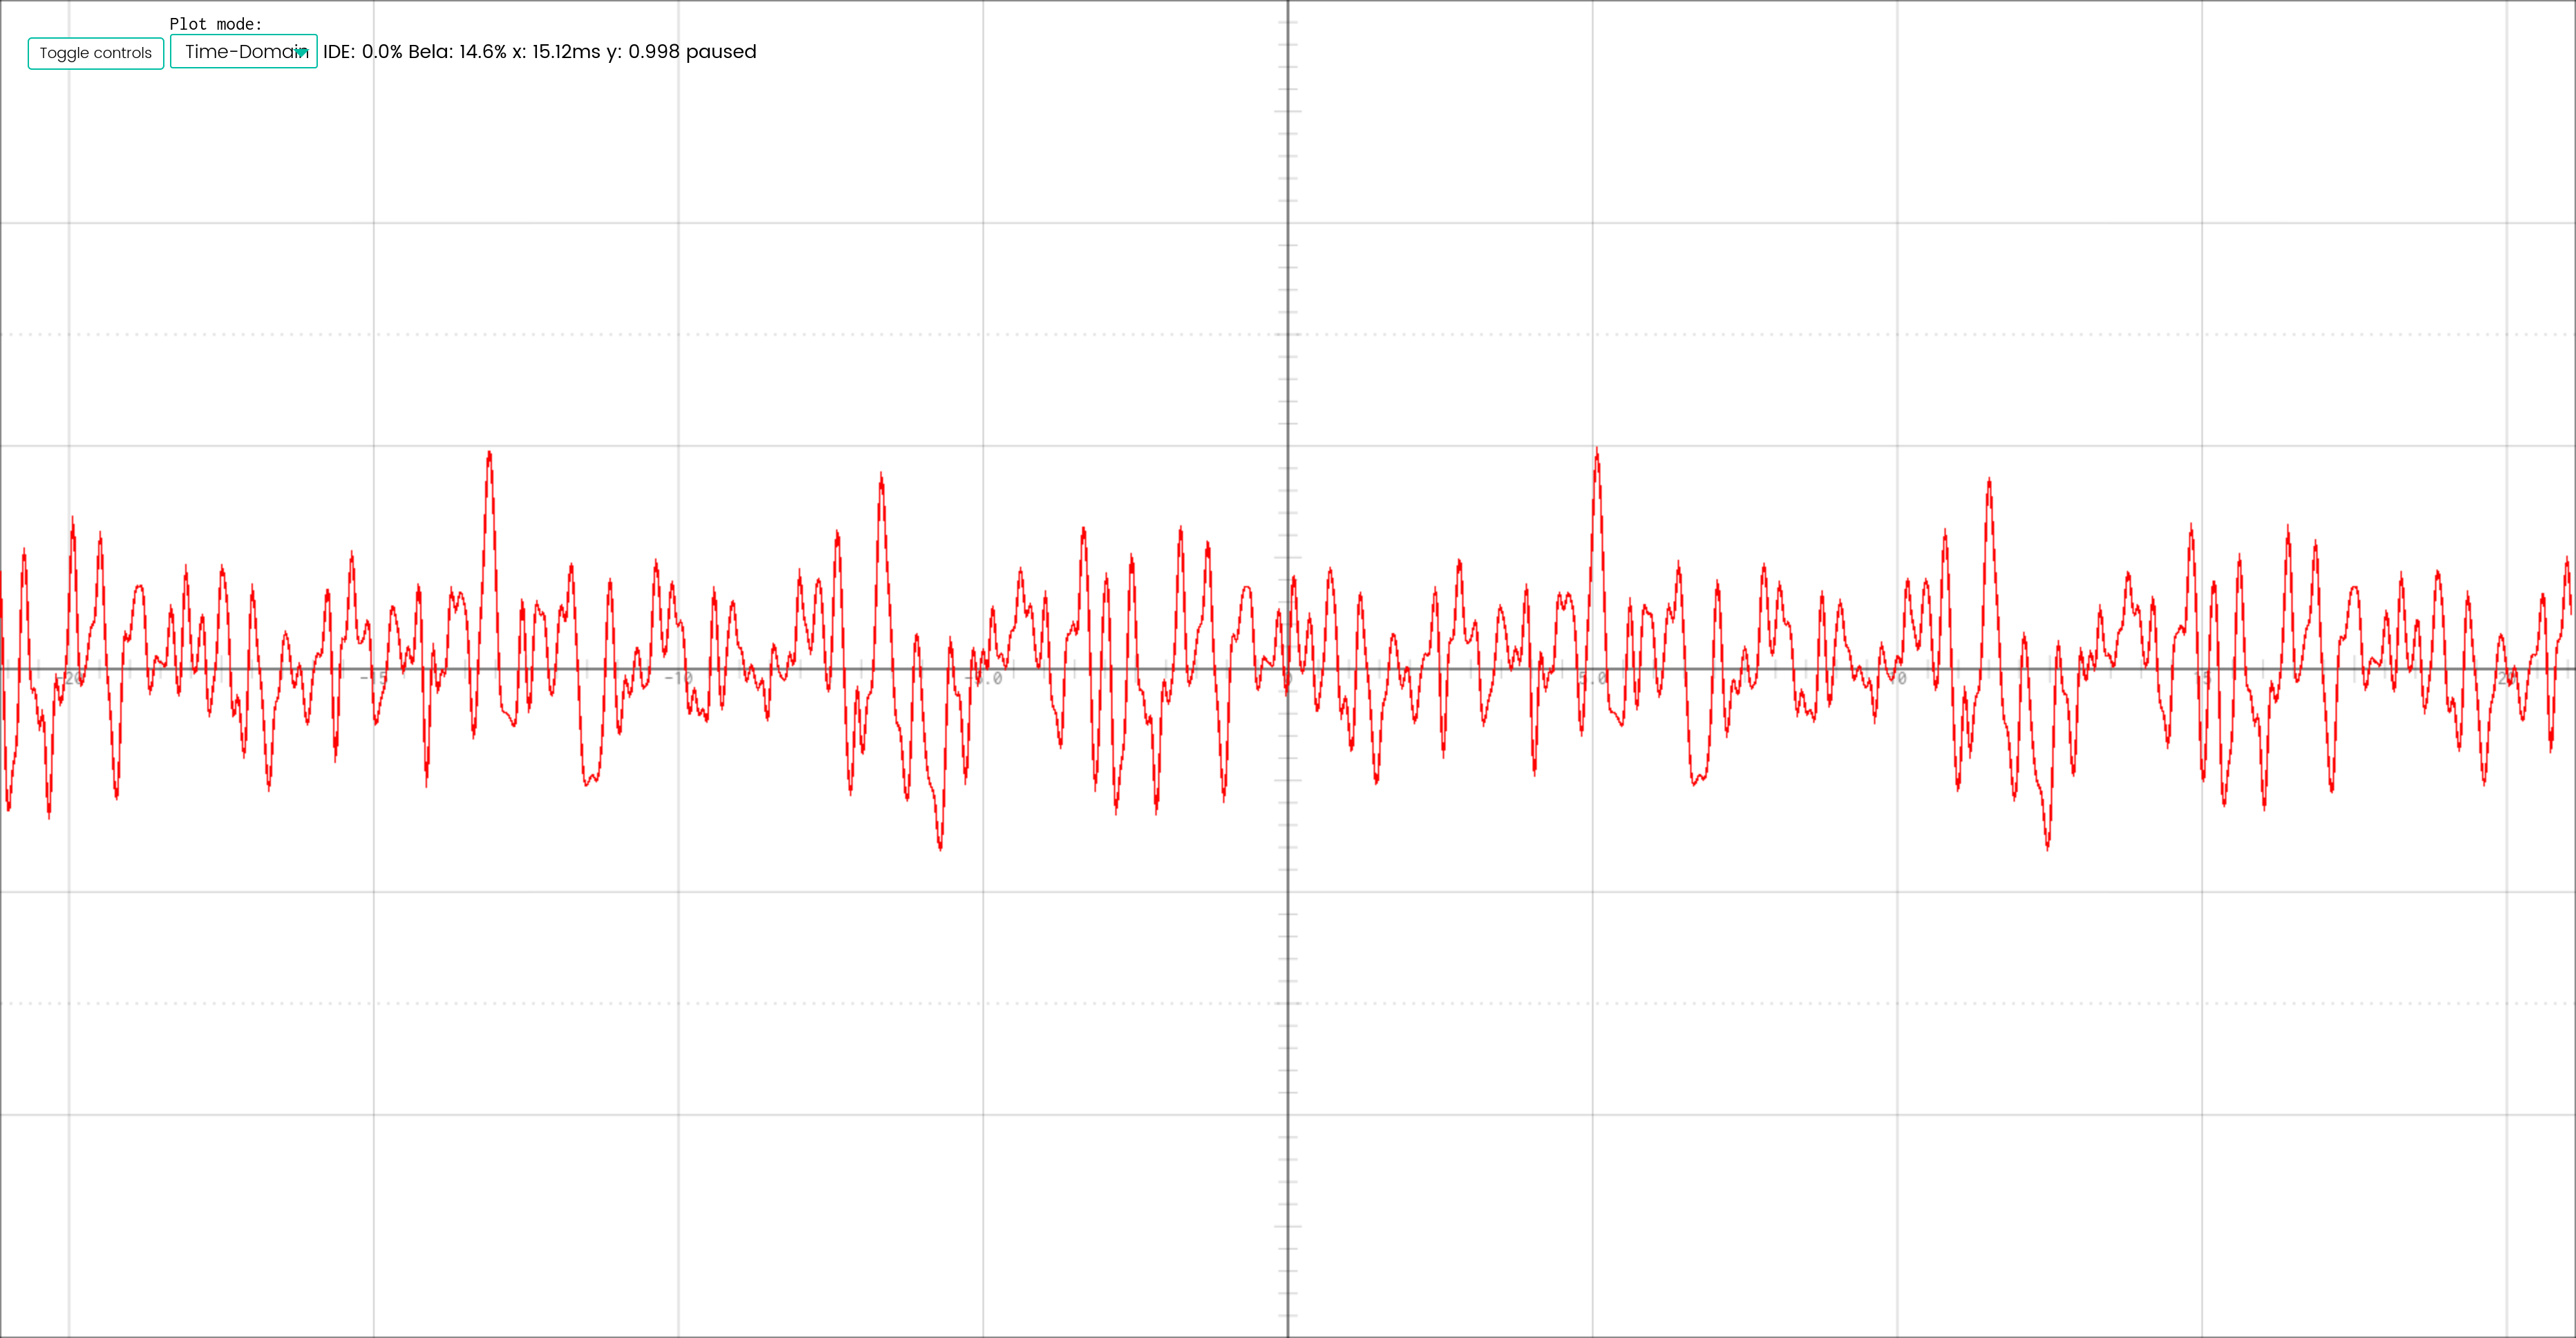
If all goes well, you should hear a plucked string sound when you touch the Trill sensor. Using the Bela IDE’s oscilloscope, we are able to see the waveform associated with the algorithm.
Conclusion
Thanks for taking the time to read this blog post about implementing Karplus Strong algorithm on the Bela platform. Hopefully this was an informative read, and I would encourage you to experiment with the audio synthesis concepts we discussed here.
The full source code for my KS implementation is available on my GitHub here.
Have a good day!